
Artwork Preparation Guide for Custom Enamel Pins
Your illustration looks wonderful at 400% zoom. Now imagine wearing it on a jacket. Which details will survive the journey?
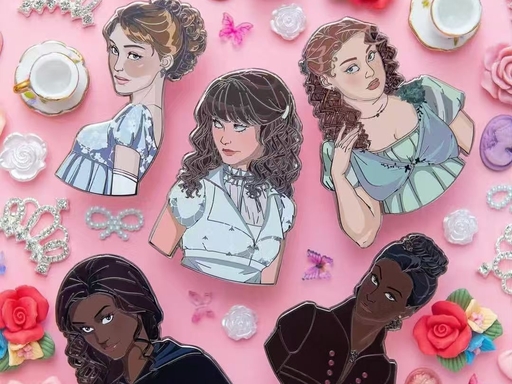
01 / Think small before you think detailed
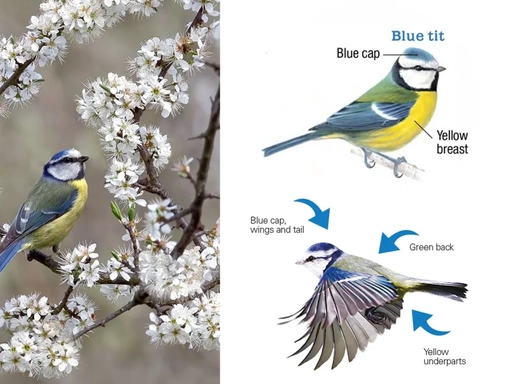
Imagine a designer preparing a bird pin. At screen size, every feather looks essential. At 30 mm wide, those feathers compete with the eye, wing and outline. The problem is not a lack of artistic skill. The artwork is being asked to speak at a different scale.
Print the design at its intended size and hold it at a comfortable viewing distance. Can you recognize the subject? Can you read the words without leaning closer? Circle the features that carry its identity. Those deserve space before decorative texture does.
This simple check should happen before refining hundreds of tiny paths. Increasing the finished size, reducing detail or changing the production method are all useful options.
02 / A metal line is a wall, not a pencil stroke
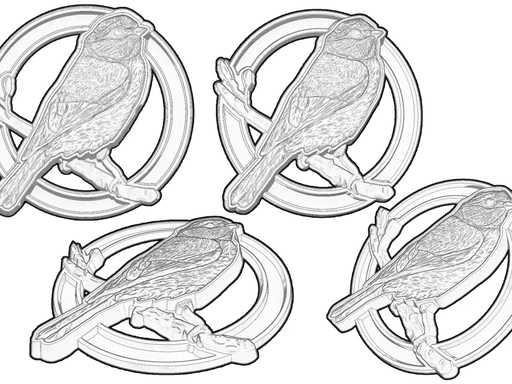
In conventional enamel artwork, the visible metal divisions separate color-filled areas. A delicate screen line must become a physical feature that can be formed and finished. Meanwhile, the space beside it must remain usable for color filling.
Think of a tiny garden: making every fence thicker leaves less room for the flower beds. That is why widening lines alone may not solve a crowded design. You may also need to enlarge a color pocket, remove a narrow sliver or combine adjacent details.
There is no single minimum that guarantees every pin will work. Confirm line widths and color spaces with the manufacturer at the final dimensions, for the chosen construction and finish. Values quoted in another supplier’s guide are not automatic approval for your artwork.
03 / Give each enamel color a home
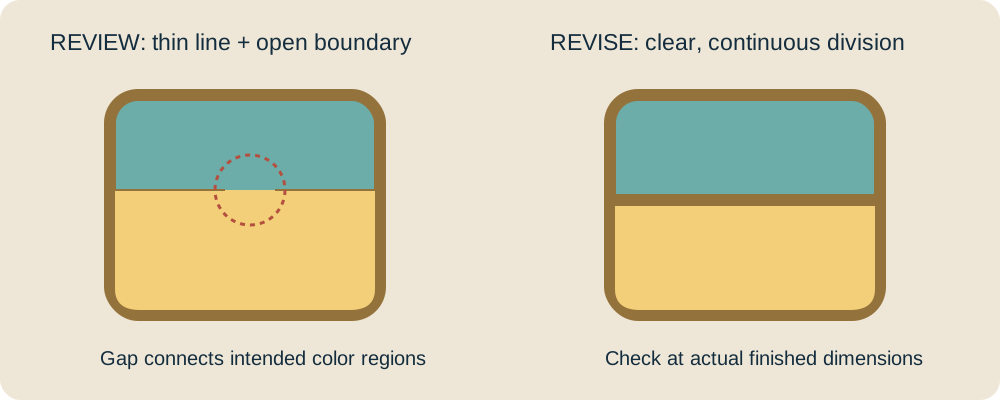
For a conventional separated-color layout, each intended color pocket needs a continuous boundary. An accidental gap can leave two regions connected. Trace the outline of each color area, including its meeting point with the outer border.
Then look for sharp corners, tiny islands and almost invisible strips. A bird’s wing does not need a separate enamel cell for every feather. A few broader shapes may communicate the same gesture more clearly.
Do not confuse a recessed color area with a hole through the pin. Mark actual cut-outs separately. The surrounding metal and any narrow connections need their own construction review.
04 / Keep the sunset, choose how to make it
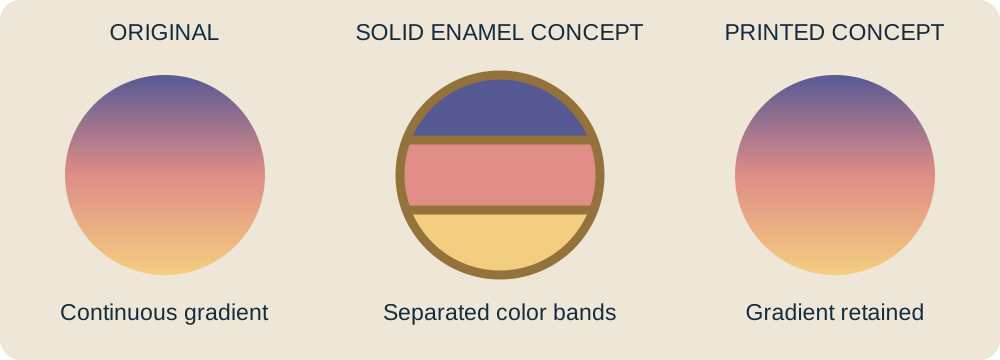
A smooth gradient is a continuous color transition. Ordinary solid-color enamel pockets will not reproduce it as drawn. That does not mean the idea has to disappear.
You could simplify the gradient into several solid regions, separated by metal. Alternatively, discuss a printed construction that retains the transition. A hybrid approach may use enamel for larger areas and printing for selected details, subject to the supplier’s process review.
The decision is visual as well as technical. Is the soft transition essential to the identity, or would clear color bands express the idea? Compare the alternatives before committing to tooling. Our enamel versus printed pins guide explores that choice further.
05 / Send useful files, not just the right extension
Editable vector paths make outlines and separations easier to inspect. But putting a photograph inside an AI or PDF file does not turn its pixels into editable shapes. Adobe’s explanation of raster and vector graphics describes the underlying distinction.
If you have vector artwork, send it with a viewable PDF or image preview. Keep an editable original and outline lettering in the production copy so missing fonts do not change the design. Identify the front, back, cut-outs and any printed details clearly.
Only have a JPG, PNG or sketch? Send the clearest version and ask what redrawing is needed, including any cost. For raised sculpture, also explain the intended depth and form: a flat vector file does not by itself define a finished 3D model.
A proof is a decision sheet.
Do not approve it only because the colors look attractive. Check what will actually be made.
- Scale: finished dimensions and readable lettering.
- Construction: metal divisions, color pockets and actual holes.
- Appearance: finish, color references and printed elements.
- Back: attachment position and any backstamp.
- Changes: every simplification you agreed to.
Make the first message count
A useful inquiry can be short: “Here is my bird design. I am considering a 30 mm pin, 300 pieces, with a gold-tone finish. Please identify details that need simplifying and quote any artwork preparation separately.”
Attach your source file and preview, and highlight anything that must stay. If color or fine detail is critical, discuss a physical sample before bulk production. A digital proof helps confirm the design; it cannot fully show surface feel or real-world color.
Is your artwork ready for a pin?
Send your design, intended size and quantity to Extra Dream. Ask us to review the lines, color areas and production options before you commit.
Send your design for review ↗