
Custom Enamel Pin Backing Cards: Sizes, Design & Retail Packaging
The pin is ready. Then someone asks where the price goes, whether it fits the display hook, and who is putting 500 pieces onto cards. Those are design questions too.
One collection.
Many small stories.
The card has a job beyond looking attractive
Imagine a small shop launching a nature-themed pin collection. The illustration is finished, but the first packaging proof places the brand name behind the pin. The second fits the pin beautifully and leaves no space for the shop’s price label.
Neither problem requires a new pin. Both require thinking about the complete item before printing the cards. A backing card should support the product, explain what it is and fit the way it will be sold or given away.
Start with the destination: a tabletop tray, a hanging retail display, an online order or an event gift. Each creates a different layout and handling brief.
01 / Choose dimensions around the assembled product
There is no single card size that works for every pin. Draw the finished pin outline on the proposed card at actual size. Leave room for the brand, any product name and the spaces your retailer needs.
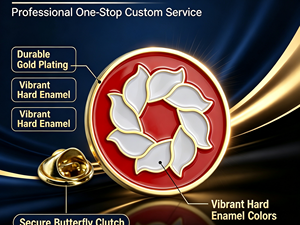
Check the back as carefully as the front. The clutch adds depth; the complete assembly must fit inside the chosen bag or box. A card that slides into a bag by itself may be awkward once the pin is attached.
For a hypothetical 30 mm pin, you might compare 55 × 85 mm and 70 × 100 mm layouts as paper mockups. These are starting examples, not required dimensions. Ask the printer about stock sizes and production options before committing.
Pin outline + card layout + assembled thickness. Approving them separately can hide a fit problem until packing starts.
02 / Position holes from the actual hardware
The center of the illustration is not necessarily the position of the post. Ask for the confirmed attachment locations, then mark them on the card drawing. For two-post pins, confirm spacing and orientation rather than duplicating a generic template.
Also clarify whether cards arrive pre-punched or are pierced during mounting. The assembly method affects what needs to be prepared and checked. Any retail hanging hole is a separate feature from the holes used to attach the pin.
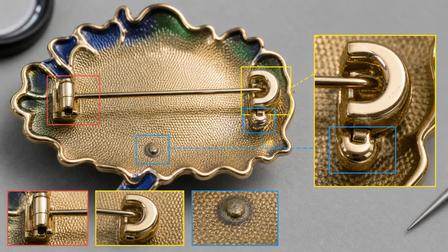
The reference below uses a horizontal brooch mechanism. It needs a layout appropriate to that mechanism, not the same arrangement as a straight post with a butterfly clutch. Confirm both fit and safe closure on an assembled sample.
03 / Let the pin lead the front
Place a full-size outline of the pin over the card artwork while designing. Keep important text outside that footprint. Then add the closure, hanging hole and price-label areas to the proof so nobody mistakes those spaces for decoration.
A useful hierarchy is brand first, product second, short story third. Put longer copy, care information or collection details on the reverse when needed. If the card is double-sided, check that the clutch does not cover the information.
Ask the printer for its template, bleed and safe-area requirements. Keep an editable artwork file and a viewable proof. A downloaded template from another supplier may not match the chosen cutting and printing setup.
04 / Plan singles and sets separately
A two-pin set is not always two single-pin layouts pushed together. Position the actual pieces with enough room to attach and remove their backs. Check whether an uneven distribution makes the card tilt on the display.
For several designs on shared cards, confirm which SKU belongs to each assembly. The barcode or label area should remain accessible and readable after bagging. If the retailer requires barcodes, obtain the correct data and requirements from the responsible party; do not substitute a decorative barcode graphic.
Build one complete sample of each important format. A front-only digital proof cannot confirm how a set hangs, how stiff the card feels or how easily it packs.
05 / Specify what arrives assembled
“Backing cards included” could mean loose cards in a carton. State whether the order includes mounting, closures, bags, labels and sorting. Ask for each service to appear clearly in the quotation.
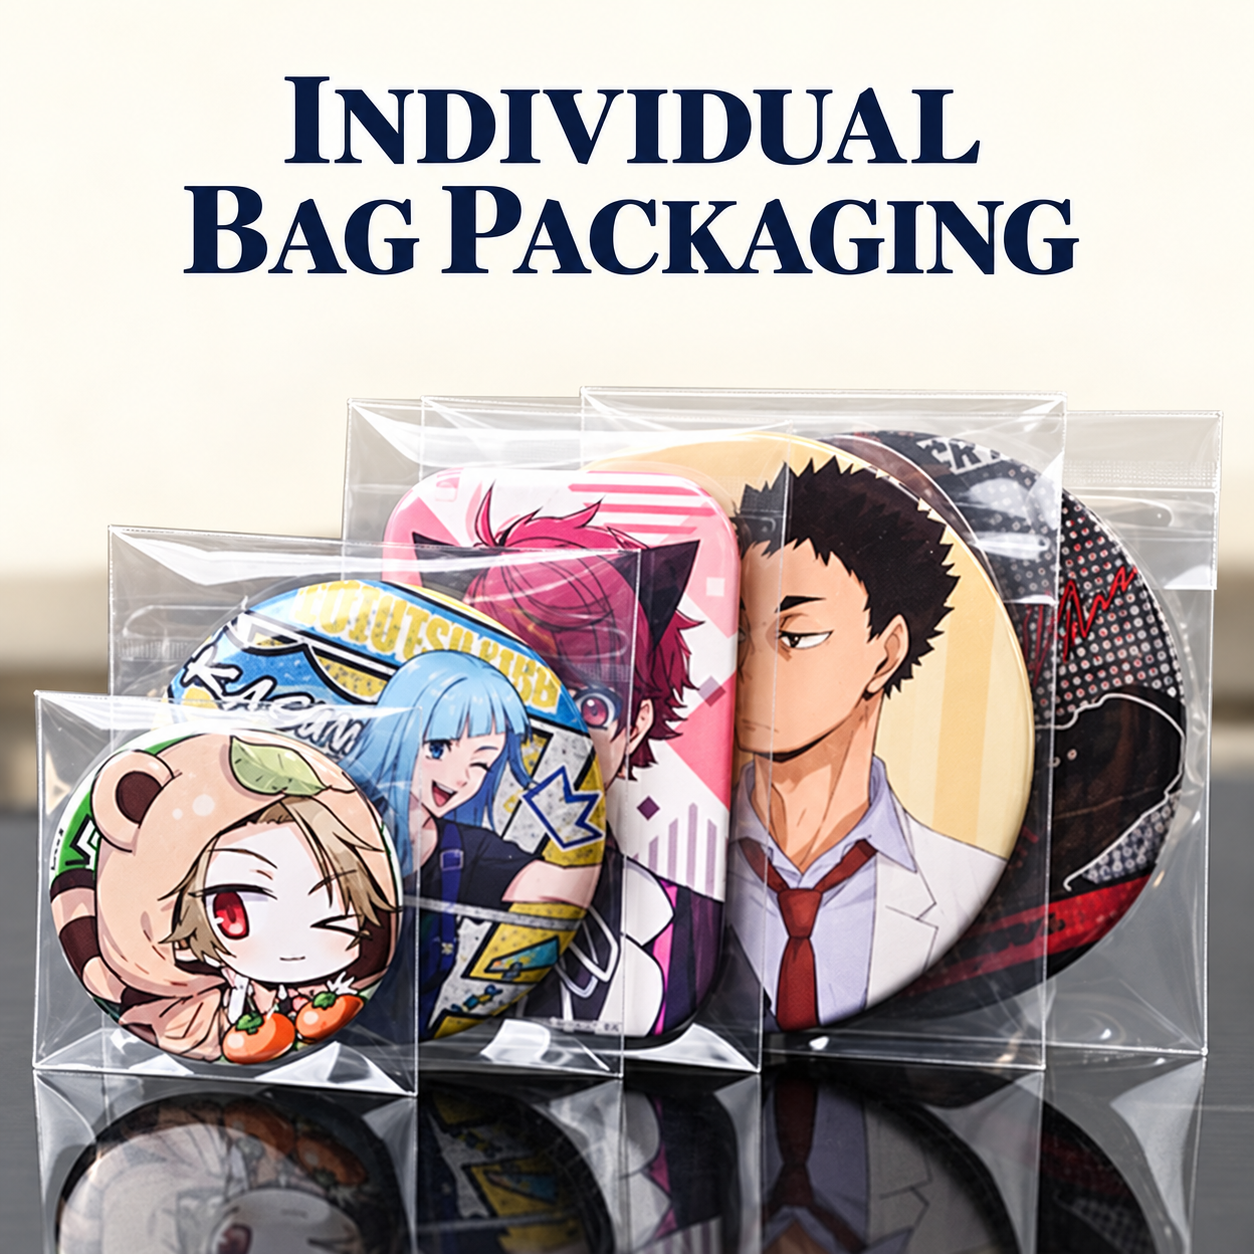
The bag reference illustrates individual presentation, not verified barrier performance. Confirm bag material, dimensions and closure for your order. Do not treat a clear bag as a guarantee against moisture, oxidation or every shipping mark.
- 1 · MOUNTPosition pin and secure back.
- 2 · BAGCheck clearance and closure.
- 3 · LABELMatch product and SKU.
- 4 · DISPLAYCheck the finished presentation.
A brief your supplier can actually quote
Send pin dimensions and attachment positions, card artwork and size, quantity per design, hanging requirements and the intended packaging. Ask the supplier to identify paper stock, finish, printing, mounting and labeling in the offer.
For example: “Please quote 500 pins mounted on printed cards, individually bagged and sorted by design. Reserve the marked area for our SKU label. Provide a complete packed sample before bulk assembly.”
For the pin itself, use our artwork preparation guide. For the wider collection, explore branded merchandise design. The goal is one approved retail item, not a pile of separately approved components.
Plan the pin and packaging together
Share your artwork, quantity and retail or gifting requirements with Extra Dream. We can discuss the pin, backing card and assembly scope as one project.
Discuss your pin packaging ↗