
Brand merchandise · Corporate gifts · Bulk orders
Custom metal keychains in bulk: logos, hardware and packaging.
Choose the logo, connecting hardware and packaging as one complete product—ready for the people who will receive it.
The artwork is only part of a custom keychain. Whether a connecting ring opens too easily, hardware hides the logo, or the keys turn smoothly needs to be checked on the complete sample. For event keepsakes and branded merchandise, the hardware shapes how useful the item feels after the handover.
When ordering custom keychains in bulk, confirm the tag, connecting hardware and packaging together. The logo determines how the brand appears, the hardware affects handling, and the packaging shapes the handover. Agreeing on all three gives you a useful basis for comparing quotations and samples.
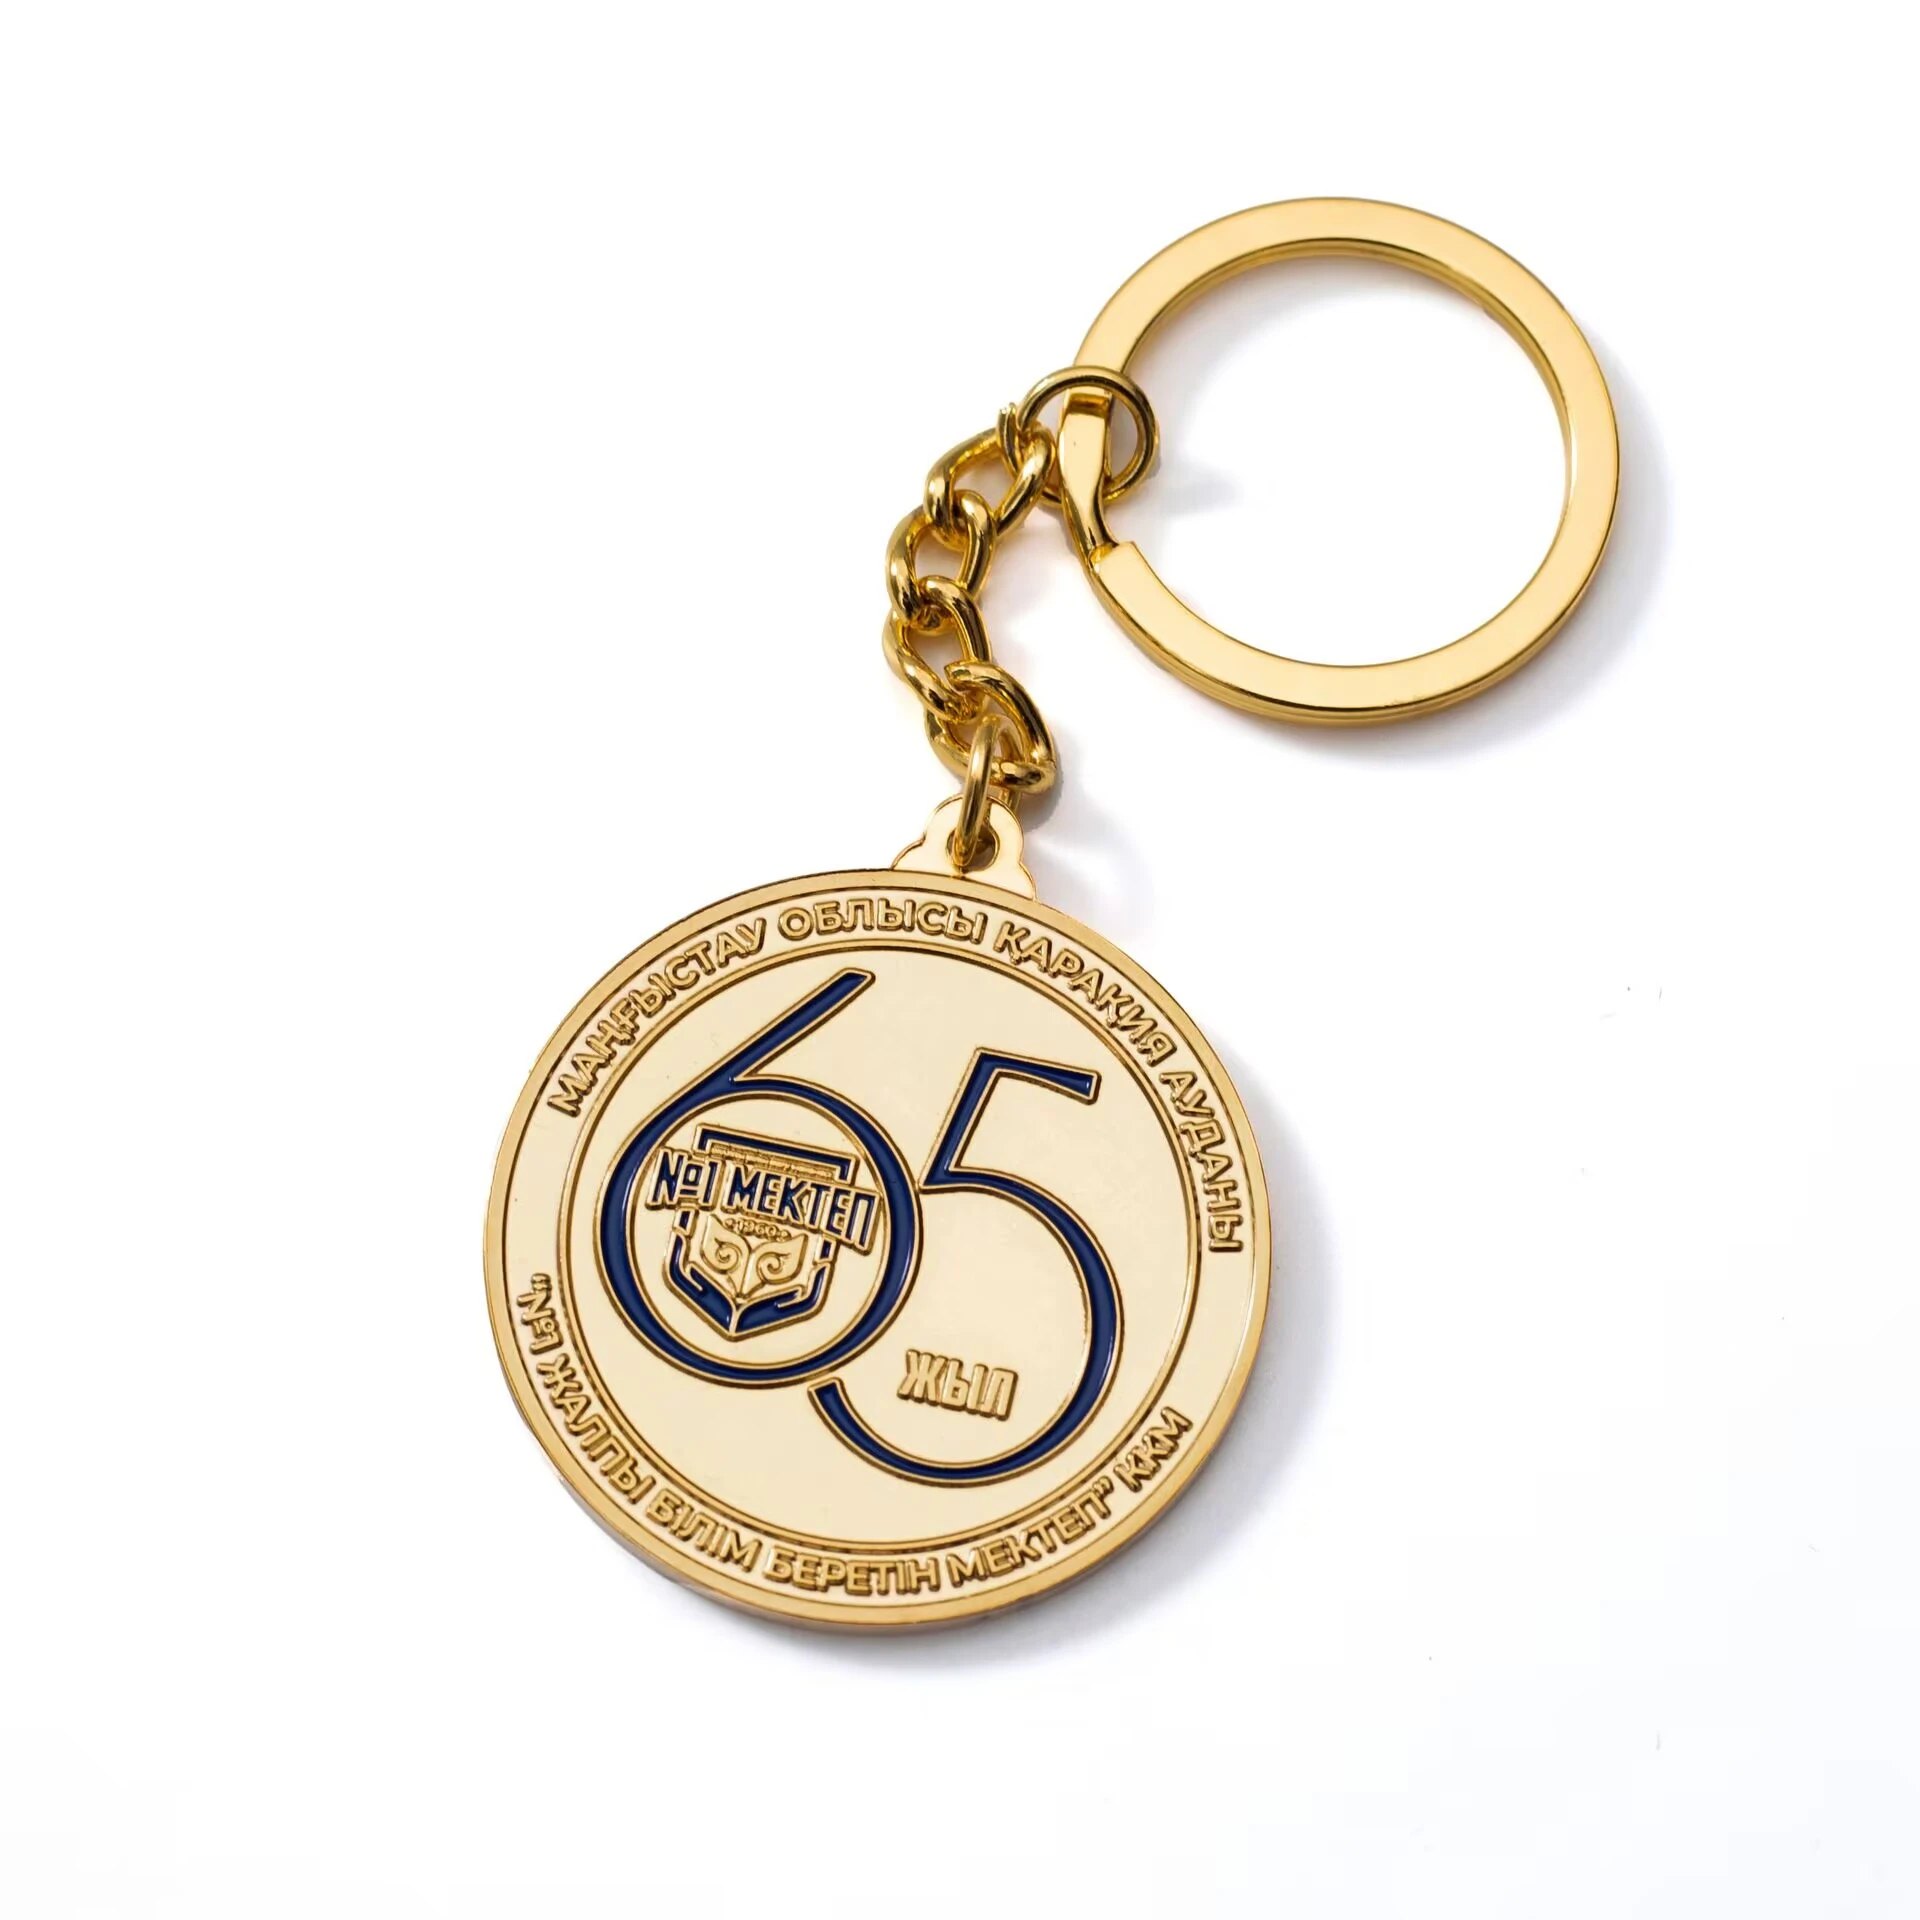
Start with who will receive the keychain.
Event giveaways, employee gifts and retail souvenirs may share a logo, but they do not necessarily need the same specification.
| Use | Priority | Packaging considerations |
|---|---|---|
| Trade shows, openings and brand events | Recognizable branding, manageable size and easy distribution. | Group cartons for distribution; check whether individual packs are easy to open if required. |
| Employee welcome packs and client gifts | A consistent look with the brand and the rest of the gift set. | Review placement alongside the welcome card, box insert and other items. |
| Tourism retail and branded merchandise | Distinctive design, useful reverse-side information and shelf presentation. | Consider hanging, barcodes and product retention when planning a card or box. |
If the size is undecided, print a few outlines at approximately the intended size and compare them alongside a set of keys. This helps assess proportions and information density. Weight, edge feel and hardware movement still need a physical sample.
1. Choose the logo process around the details you need to keep.
Mark the elements that must remain: brand colors, fine lines, small lettering, gradients or imagery. Ask the factory to explain how those elements can work at the intended size.
Simple lettering and symbols: discuss engraving or laser marking.
Company names, simple symbols and numbering are starting points for an engraving or laser-marking assessment. A “laser logo” does not describe one fixed appearance: metal marking involves different methods, and the result depends on the material and surface. Confirm placement, contrast and the expected finish, rather than approving a process name alone. See Trotec’s explanation of metal engraving and marking.
If each piece needs a different name or number, supply the variable-data list separately and agree on layout, data checking and cost. Personalized keychains in bulk require a different brief when every item varies, compared with an order carrying one shared logo.
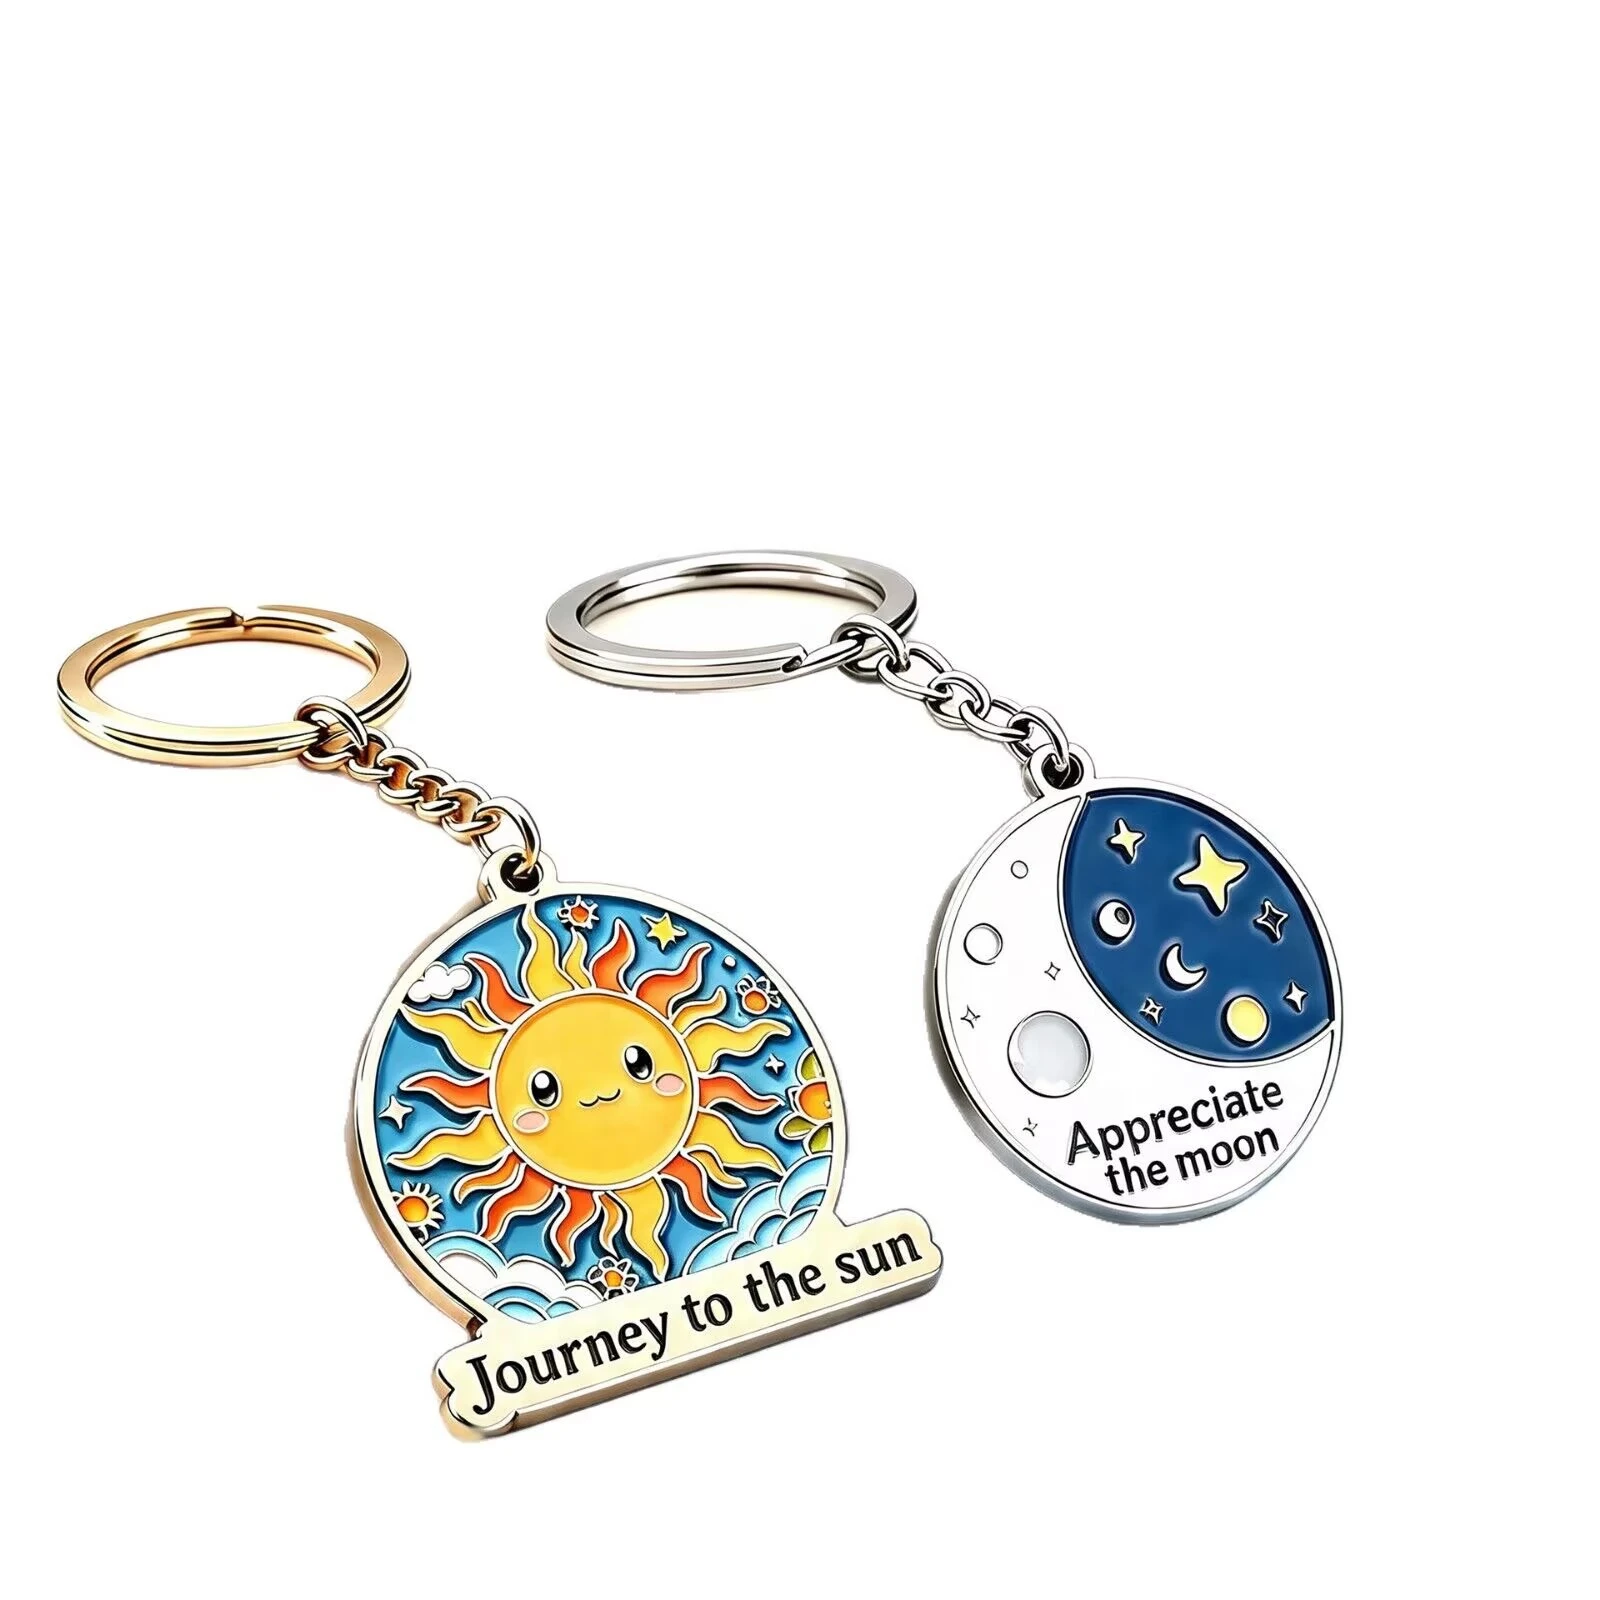
Distinct color areas: review color fill and metal borders.
For designs with clear blocks of color, discuss a color-fill option. Check whether the color areas, metal outlines and lettering remain legible at actual size. A fine line that works on a screen may need adjustment when translated into a metal boundary.
Ask the factory to identify those changes on the production drawing, especially inside letters, small symbols and adjacent color areas. Supply color references and agree on sample approval; screen colors alone cannot establish the finished appearance.
Gradients and complex imagery: assess printing.
If the logo includes gradients, photographs or complex multicolor details, ask whether printing suits the project. Confirm the print area, front and back coverage, base color and whether a protective surface layer is needed.
An enlarged rendering does not establish legibility on the finished piece. Review the layout at actual size, then confirm the image, surface and intended use through the agreed sample process. Our enamel versus printed design guide explains the visual trade-offs using pins; the keychain construction still needs its own assessment.
| Essential design element | Option to discuss | Sample review focus |
|---|---|---|
| Simple lettering, symbols or numbers | Engraving or laser marking. | Contrast, placement and legibility at actual size. |
| Distinct brand-color areas | Color fill and metal outlines. | Clarity in small areas and approval of any outline changes. |
| Gradients, photographs or complex imagery | Printing. | Image clarity, base color and surface appearance. |
Use this comparison to narrow the discussion. Make the final choice against the artwork, surface, size and sample, rather than treating a process name as a quality grade.
2. Assess the hardware with keys attached.
Review the tag, connecting rings, chain or swivel, and main key ring as one assembly. An unattached metal tag cannot show how the finished keychain will behave on a set of keys or a backpack.
Start with how the recipient will use it: carried in a pocket, displayed on a bag, or removed frequently. Handle the complete sample in that way before choosing the final hardware.
From a customer project
A hiking-event order: improving the connections around the design
An outdoor hiking association in Chile was ordering metal enamel keychains as keepsakes for its annual hiking event. To keep the structure simple and control cost, the customer initially chose a thin open jump ring connecting the tag directly to a standard flat key ring.
During the initial sample review, the problems appeared at the connections rather than in the artwork. The thin jump ring could open under pulling. As the keychain moved, the tag could turn to its reverse and hide the event logo. Movement at the connection also felt stiff when handling the keys. For a keepsake that would move and rub against a backpack, these details needed attention before bulk production.
We made three changes:
- A welded D-ring replaced the thin open jump ring. This addressed the opening at the original connection. We also reviewed the connection and weld positions alongside the artwork to keep the front graphic clear.
- We added a compact swivel with a positioning function. It let the tag turn more easily and be adjusted to the intended display direction, addressing both logo presentation and the feel of handling the keys.
- The main ring became a thicker, double-loop split key ring. Keys could still be threaded on from the end of the ring. We checked its fit with the connectors and tag as part of the complete assembly.
After resampling, the connections stayed together during the manual pull checks for this order, and repositioning the tag and turning the keys felt smoother. The association approved the sample and placed the order. Subsequent feedback from the hikers was positive.
The practical lesson: choose the hardware around use. If the product needs to display a logo on a bag while keeping keys easy to handle, review connection security, orientation and movement on the same assembled sample.
Three connection points to review
On a small screen, swipe the table to compare all three columns.
| Connection point | What to do with the sample | What to record |
|---|---|---|
| Tag to connector | Turn the tag and look for binding at the hole or hardware covering the artwork. | Hole position, connection type, hardware specification and assembly direction. |
| Swivel or opening component | Turn and handle it with keys attached. For a positioning version, also check how the direction is set and adjusted. | Free rotation or a positioning function, how it operates, and the final hardware version. |
| Main key ring | Fit the intended keys and check loading, gaps and room to move. | Ring construction, dimensions, wire or cross-section specification, and the keys it needs to accommodate. |
Extra hardware brings trade-offs
The swivel in this order addressed problems found on the sample. It also added connection points, overall length and assembly work. The quotation and space inside the packaging needed to be reviewed with those changes.
A light, simple design whose existing hardware works well on the complete sample may not need the same upgrade. With a welded connecting ring, plan the assembly sequence. If the tag needs to be removed frequently, assess an opening attachment as a separate requirement.
Be explicit about display direction. Free rotation and a positioning function are different requirements. The Chilean project used a swivel with a positioning function. A component described simply as a swivel should not be assumed to hold a selected direction.
Manual pulling and turning help reveal assembly and handling issues. Where connection strength or repeated operation needs verification, agree on the method and acceptance criteria before production so sample approval and bulk inspection use the same basis.
Where the two faces carry different content, provide separate layouts and confirm their reading directions and the attachment-hole position.
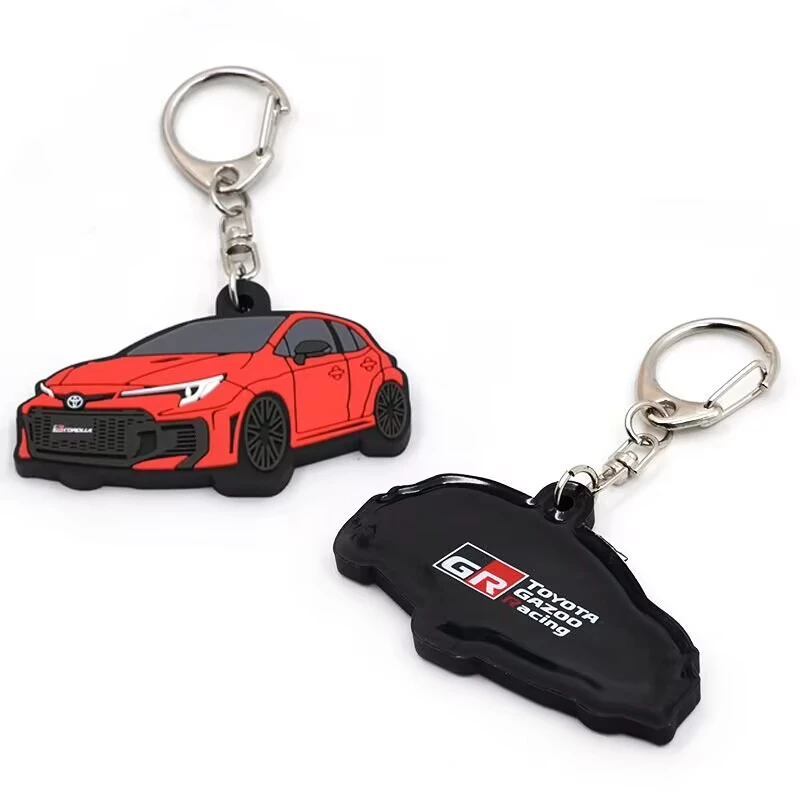
Approve a fully assembled sample with the final hardware. A bare tag cannot establish how the complete keychain will behave.
3. Choose packaging around distribution.
Start with a practical question: after the shipment arrives, who will hand the keychains to the recipients?
Event distribution calls for counting, grouping and easy access. If staff must remove individual bags, confirm they have time to do so. If keychains go straight into gift bags, assess whether they need separating from other items.
Employee and client gifts benefit from reviewing the keychain, card and welcome box together. Check where the ring and chain sit, whether the item can move during transit and whether the main logo is visible when the box opens.
Retail display requires the backing card, hanging hole, barcode and SKU to be planned together. Does the fixed product cover important wording? Is the information clear on both sides? Will the barcode sit on the bag or the card? Settle these details when approving the packaging layout.
For example, a buyer using the same keychain for event giveaways and shop sales could ask about two packaging versions. This is a planning example: shared production, packing arrangements and minimum quantities still need project-specific confirmation.
When comparing packaging quotations, identify the individual container, card or label, hardware assembly, bagging or boxing, and units per carton. Matching product unit prices do not establish matching delivery scopes.
4. Turn your choices into a comparable quotation.
You do not need to know every manufacturing term before asking for a quote. Explain the use, logo, reference direction and quantities, then ask for options you can compare.
When comparing two options, keep the size, quantity and packaging consistent where possible, changing the process or hardware you are evaluating. This makes the source of a price difference clearer.
A brief you can copy
We are planning custom metal keychains for [event / employee gifts / retail]. Target size: [ ]. Total quantity: [ ]. Quantity for each design or color version: [ ].
Our logo and appearance references are attached. Details that must remain: [brand colors / wording / gradients / other]. Details open to adjustment: [ ]. Please recommend a suitable logo process and specify the front and back coverage.
Preferred hardware: [split ring / short chain / opening clasp / please recommend]. Intended use: [pocket carry / bag display / frequent removal / other]. Please describe the tag-to-ring connections and main ring specification, and assess whether a swivel or positioning function is needed. Please provide a fully assembled sample with the final hardware and identify the effect of hardware changes on unit price, assembly and packaging.
Packaging: [ ]. Assembly, backing cards, barcodes or separate packing requirements: [ ].
Destination country and postal code: [ ]. Required receipt date: [ ]. Please identify product, tooling or development, sample, hardware and assembly, packaging and transport charges, including what the quotation excludes.
Break the total down by design or version. Combining several logos in one order does not automatically combine their tooling, sampling or minimum quantities. Separate artwork approval, sampling, production and transport when planning around the required receipt date.
5. Approve the complete specification before production.
After reviewing the sample, record these decisions together:
- Artwork version: front and back content, size, logo placement and agreed detail adjustments.
- Appearance reference: the agreed basis for the metal surface, color, print or marking effect.
- Complete hardware: ring, connectors, chain or clasp and the assembly arrangement.
- Packaging version: cards, labels, bagging, boxing and separate packing requirements.
- Inspection and delivery: agreed checks, quantities, destination and schedule.
If you later change the hardware, add wording to the back or revise the packaging, confirm the effect on samples, costs and timing before approving the update. Keep a record of what changed so everyone works from the same version.
Questions from bulk buyers
Are bulk keychains and custom keychains the same thing?
Not necessarily. Bulk keychains may mean a large quantity of a stock design. Custom orders can involve the logo, outline, surface, connecting hardware or packaging. Identify which elements need changing when requesting a quotation.
Are metal keychains always better for corporate gifts?
Choose around brand presentation, weight, budget and how recipients will use the item. A metal surface and structure can contribute to the design, but the material should suit the purpose. This guide focuses on buyers already assessing a metal option.
Can I approve production from a rendering alone?
A rendering can establish layout and content, but it cannot fully show weight, feel, hardware movement or packaging fit. Agree at the start whether a physical sample is needed and what that sample must establish.
Should I choose the keychain or the packaging first?
Define the use first, then confirm the product and packaging together. Hanging positions, inserts and card dimensions depend on the complete product size. Leaving packaging until the tag and hardware are final can require further changes.
Does a swivel always keep the logo facing outward?
Distinguish free rotation from a positioning function. If display direction matters, specify that requirement in the brief and check adjustment and positioning on the assembled sample. The Chilean project used a swivel with a positioning function; other swivels should not be assumed to work the same way.
How does a closed connecting ring differ from a split key ring?
A closed connecting ring joins the tag or other hardware and needs a planned assembly sequence. A split key ring lets keys be threaded on or removed from its end. The Chilean project used a welded D-ring connector and a thicker, double-loop split key ring for these different jobs. Confirm each component separately.
Planning a vehicle-club series? Read our car and motorcycle club keychain guide for shape, attachment and annual-edition decisions.
Explore our custom corporate gifts for related formats. If you are planning a functional shopping-cart token, use our trolley coin keyring guide for the separate lock-compatibility and operating checks.